New filters leave the factory clean. What's inside a used filter?
>
In a normal cleanroom — dust, fiber, skin cells. Regular waste.
In a BSL-4 biolab — Ebola, anthrax. Release = pandemic-level event.
In a nuclear facility — cesium-137, cobalt-60. Release = radiation incident.
Different sites have fundamentally different replacement requirements.
Why BIBO Exists
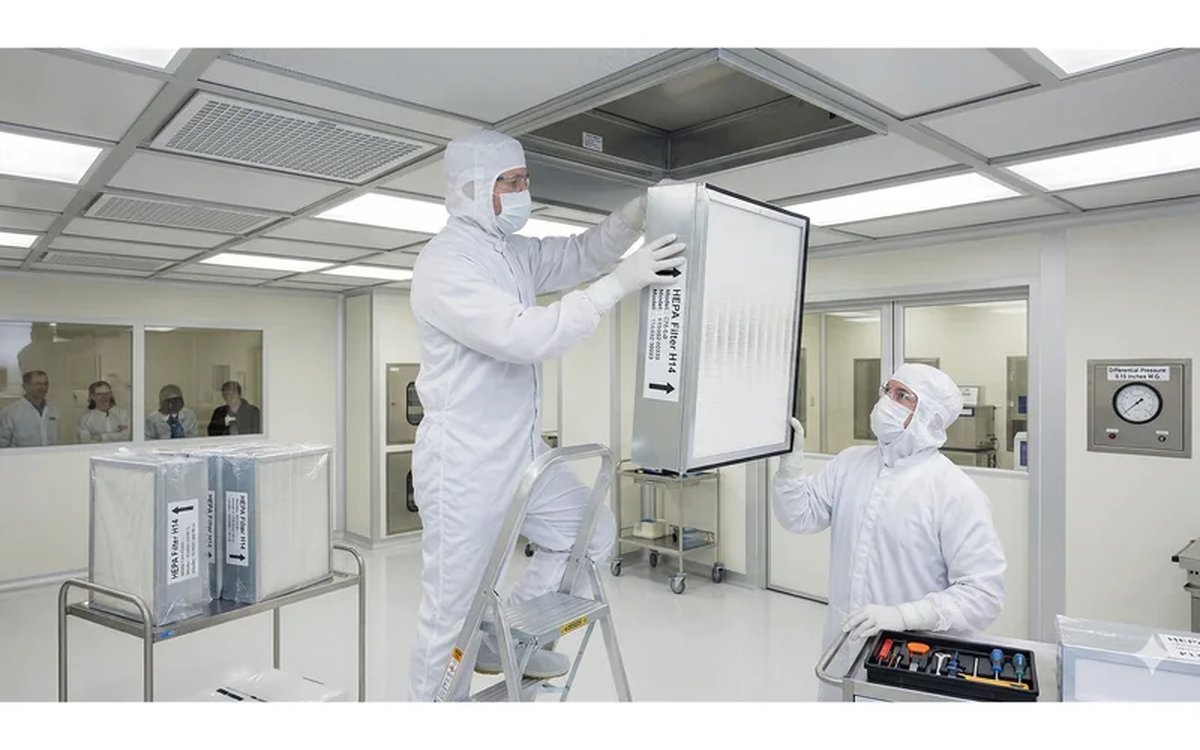
Standard HEPA replacement: shut off airflow → pull old filter → install new. The old filter gets exposed to the operator and ambient air during removal.
In hazardous sites that approach fails:
- ▸Operator exposure — inhaling the hazardous material
- ▸Environmental contamination — hazard escapes to other zones
- ▸Regulation — BSL-3/4, nuclear, pharma HPAPI have strict mandates
The BIBO (Bag-In / Bag-Out) core concept: the contaminated filter, from removal through disposal, is always inside a sealed bag and never touches the outside environment.
How Is It Designed?
Key component: flange lip + bag ring
The filter housing has a flange lip on the outside — shaped like an inverted U-ring. The bag seats onto this ring, creating an airtight seal.
- ▸Old bag — mounted on the flange, the old filter gets pulled into it during removal
- ▸New bag — pre-mounted on the same flange together with the new filter
At the moment of changeover, the old and new bags are isolated from each other through the flange. The contaminated filter never contacts outside air directly.
Seal-and-bag mechanism
To guarantee the old bag stays closed forever, nylon tie + heat-seal is used for redundancy:
- 1Tie the bag with nylon ties in two places (5 cm apart)
- 2Heat-seal between the two ties (like food-packaging seal)
- 3Cut through the middle
The old bag is triple-secured — "heat-seal + two ties" — and cannot leak in transit to incinerator or autoclave.
Six Standard Procedure Steps
Chart 1: BIBO Replacement — Six Standard Steps
Core principle: the contaminated filter is NEVER exposed to outside — all work happens inside the bag
The housing has a "flange + bag ring" — the old bag hangs on the outside of the flange to extract the old filter; the new bag slides over the flange before installation. The old and new bags are fully isolated from the outside at the moment of changeover.
The full procedure takes 2–3 operators and 45–90 minutes depending on filter size and housing design. Operators wear Tyvek coveralls + PAPR as a secondary layer of protection.
Common operator errors
- 1Bag damage not inspected — new bag must be visually checked before mounting; a hole is a leak path
- 2Ties too loose — ties must be tight enough to cinch the bag; leave heat-seal space between them
- 3Incomplete heat seal — the sealer must cover the full bag width, not just a short segment
- 4Old bag contacts housing exterior during extraction — residual contamination inside the housing gets dragged out
- 5No sealing grease on flange — some extra sealing aid between the bag ring and flange
PAO Acceptance Test: How Do You Confirm a BIBO Swap Really Has No Leaks?
The final step of the six-step procedure is "verify," and at a hazardous site this step cannot be skipped — and cannot rely on pressure drop alone. A BIBO change-out is essentially a blind operation through a bag: the operator can't see the filter's sealing face, and the new filter's seal frame is pushed in and clamped purely by feel. This is exactly where installation leaks arise.
When a HEPA in a normal cleanroom leaks, you lose cleanliness and scrap product. When a filter in a BIBO site leaks, what escapes downstream is live pathogens, radioactive particulate, or cytotoxic drug dust — a completely different consequence. That is why every swap must be verified per-unit, in place.
Why run PAO when the pressure drop looks fine?
Pressure drop (ΔP) only tells you airflow is passing through the filter; it cannot detect a pinhole. Air takes the path of least resistance: a single 5 mm² pinhole can push local penetration to dozens of times the overall value, yet barely move the whole-filter ΔP. To catch a local leak, you need a PAO scan test.
PAO (Poly-Alpha Olefin) is a synthetic oil-mist aerosol with a median size of 0.3 μm — close to the MPPS that HEPA struggles most to capture (the filter's "Achilles' heel"). Challenge the filter with the hardest-to-stop size, and passing means it genuinely passes.
Chart 1: The PAO Scan-Test Three-Step Flow
Generate aerosol upstream → measure baseline → scan downstream face
Upstream: PAO aerosol generation
Laskin nozzle or thermal generator, ~0.3 μm MMD, 10–100 μg/L
Baseline: upstream concentration
Optical particle counter or photometer measures upstream (C₁)
Downstream: point-by-point scan
Probe traverses downstream face in an S-pattern, logging (C₂)
EN 1822-4 / IEST-RP-CC034 mandate per-unit scan testing for H14 and higher. Recommended scan speed ≤ 50 mm/s; probe kept 20–30 mm from the filter downstream face.
PAO is injected upstream as the challenge aerosol; a probe then traverses the entire downstream face and the seal-frame perimeter in an S-pattern at ≤ 50 mm/s, logging local penetration at every point. For the full three-step flow, pass/fail thresholds, and common failure modes, see the complete PAO scan-test guide.
The BIBO difference: in-situ testing, not factory testing
A filter-factory scan test only checks the filter alone. After a BIBO swap, what you must verify is whether the "filter + seal frame + housing interface" as installed leaks — and that can only be done on site with the filter mounted in the housing, an in-situ scan test. The differences:
| Aspect | Standard HEPA factory scan | BIBO in-situ scan |
|---|---|---|
| Location | Filter-factory test rig | On site, mounted in housing |
| Object tested | Filter alone | Filter + seal frame + housing interface |
| Upstream injection | Test-rig upstream duct | Built-in PAO injection port on housing |
| Downstream sampling | Open downstream face | Through housing scan port / sample probe |
| Containment | Not required | Housing kept under negative pressure throughout |
Judgment and disposition
Judgment follows the EN 1822-4 / ISO 29463 dual threshold: overall efficiency met, and local penetration at any single point ≤ 5× the overall value (H14 and above). One point over the limit means Fail.
This is exactly where BIBO pays off — if a leak is found, because the filter is still sealed inside the housing, you can reseat it, re-apply sealing grease, or replace the whole filter without spreading contamination, then re-test until it passes. Only after a Pass — with the per-unit scan report on file — is negative pressure released and operation resumed.
Where BIBO Is Required — the Filter Itself Is Hazardous
Chart 2: Where BIBO Is Required — Hazard Levels
A normal cleanroom does NOT need BIBO. Only sites where the filter itself has become a hazardous material
Rule of thumb: if the removed filter cannot go to normal waste and must follow biohazard / radioactive disposal, BIBO is needed. Replacement costs 3–5× a standard HEPA swap — still cheap vs. the cost of a contamination incident.
Decision principle
If the removed filter cannot go to normal waste — you need BIBO.
A normal cleanroom can do standard HEPA replacement. BIBO applies only in:
- ▸BSL-3 / BSL-4 biolabs
- ▸Nuclear facilities / radiation labs
- ▸Highly Potent API (HPAPI) plants — cytotoxic, hormonal APIs
- ▸CW agents / military facilities
- ▸Gene therapy / live-virus vaccine plants
- ▸Highly toxic chemical processes
Cost and Time
BIBO system costs:
- ▸Housing cost — 3–5× a standard FFU (requires flange, bag ring, airtight mechanism)
- ▸Consumable cost — specialty bags are more expensive than standard plastic
- ▸Procedure time — normal HEPA swap 15 min, BIBO 45–90 min
- ▸Labor — 2–3 operators + full PPE required
Why pay the premium? Because the cost of a single contamination incident — public-health crisis, facility shutdown, legal liability — vastly exceeds cumulative BIBO costs.
Operator Protection: BIBO Is the Second Layer, Not the Only Layer
BIBO design reduces — does not eliminate — risk. Operators still need:
- ▸Tyvek coverall (disposable)
- ▸PAPR (Powered Air-Purifying Respirator)
- ▸Double gloves (latex inner + nitrile outer)
- ▸Safety glasses + face shield
- ▸Immediate post-work decon shower
The probability of a BIBO bag tearing isn't zero. Operator PPE is the second defensive layer.
BIBO isn't "a better HEPA replacement" — it's "the specialized technique when the filter itself is hazardous waste." Using BIBO in a normal cleanroom is waste. Not using BIBO in a hazardous site is disaster. The investment makes sense only when matched to the right site.