"What's the efficiency of this new HEPA?" — Unknown.
>
The factory test gives you the factory-condition number. After installation, it depends on how well you mounted it.
Why Replacement Is a Skill, Not Muscle Work
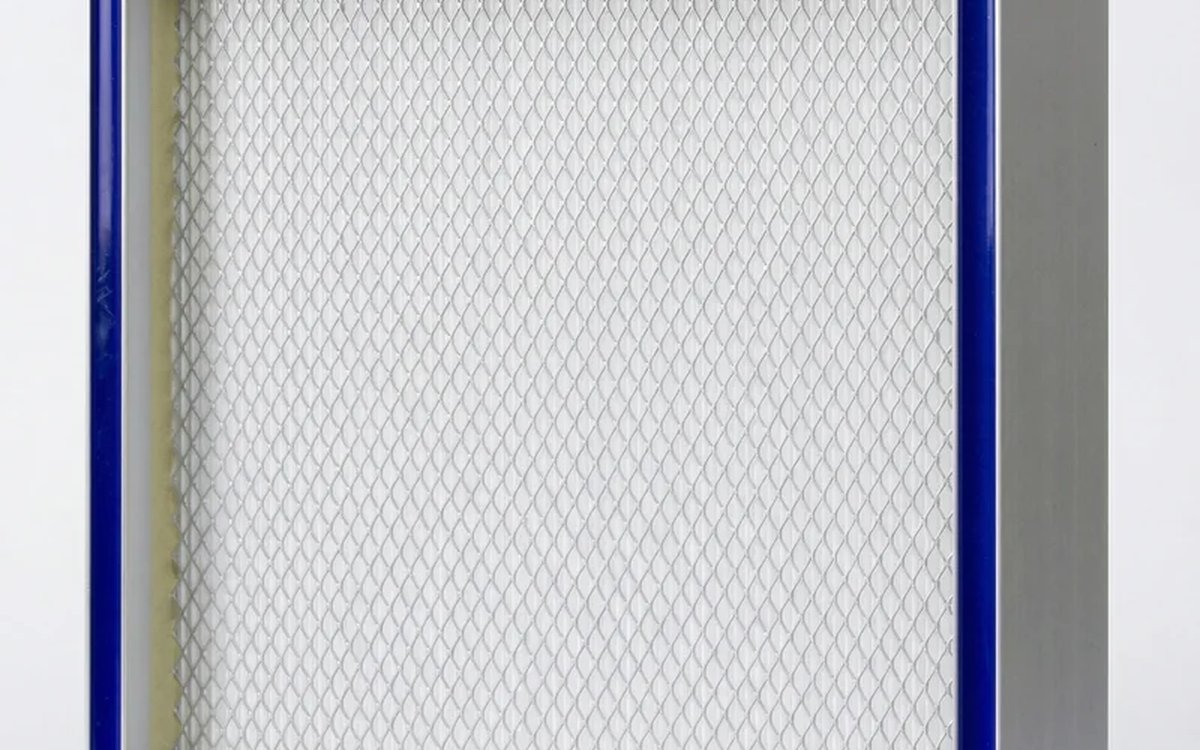
An H14 leaves the factory at 99.995%. Installed wrong, the measured value can drop to 99.5%. Why?
Filter efficiency depends on airtightness. The best media won't help if air finds a bypass around it. So "filter + installation" is the real system efficiency — and the installation is the part you control.
Six Steps, Each With a Trap
Chart 1: Six Steps to Replace a HEPA — and the Trap at Each
Replacement is not "remove + install." A mistake at any step voids the whole filter
"Installed ≠ working." A factory-spec 99.995 % filter often reads only 99.5 % after field install. Each of six stages has a failure mode that kills efficiency.
Trap Detail, Step by Step
Trap 1: Inbound check — a wet filter is a discarded filter
If the shipping carton got rained on or humid, the media absorbs water and deforms. Looks fine outside, but pleats have collapsed and airflow is no longer uniform.
Action: at first sight of water marks, tears, or impact dents on the outer box — return. No "let's try anyway." Return cost is far below ripping out a failed install later.
Trap 2: Acclimation — truck to ceiling in one move? No.
If a new filter goes from cold storage (say 15°C) straight into a cleanroom (22°C, 45% RH), the media warps from humidity shift. Invisible externally, but local airtightness already compromised.
Action: unpack the outer carton but keep the inner wrap. Let it sit on-site for at least 24 hours before mounting.
Trap 3: Remove the old one — wrong direction contaminates downstream
An old filter has accumulated years of dust. If HVAC is still running and airflow reverses during removal (positive zone going negative), upstream dust from the old filter blows directly into the clean downstream zone.
Action:
- 1Shut off upstream supply before starting, keep downstream slightly positive
- 2Remove from the downstream (clean) side, pull it outward
- 3Bag the old filter immediately to prevent fallout
Trap 4: Frame cleaning — one speck kills the whole seal
The new filter's gasket must bed completely into the frame groove. If the groove has old-filter debris, dust, even a single screw — the new seal has a gap.
Action: wipe the groove with damp + isopropyl alcohol (IPA), then dry-wipe with lint-free cloth. Inspect for burrs and protruding screws.
Trap 5: Installing the new one — diagonal tightening, not sequential
The most lethal error. Tightening screws from one corner in order compresses one edge first while the opposite is still propped up — uneven pressure that can crack the media locally.
Action:
- 1Hand-turn screws at all four corners 2–3 turns each
- 2Tighten in a diagonal pattern (like a car wheel)
- 3Step up in 2–3 cycles to final torque — never full-torque in one pass
Trap 6: Qualification — skipping scan test is gambling
All five prior steps done right, skip this one — all wasted. You have no idea whether the filter is delivering spec after install.
Action:
- 1PAO Scan Test — confirm no post-install leaks
- 2Pressure-differential test — should match design value (too low may indicate a leak, too high means debris fouling pleats)
- 3Downstream particle count — OPC traverse across the full downstream face as a second confirmation
Personnel Protection Matters
Replacing a HEPA means handling years of accumulated contaminant in the old filter:
- ▸N95 / N100 mask (minimum)
- ▸Disposable gloves
- ▸Cleanroom garment (prevent your own skin flakes contaminating the site)
- ▸Safety goggles (aging sealant can shed particulate)
BSL labs, nuclear, HPAPI facilities must use BIBO (bag-in/bag-out). Even standard HEPA sites benefit from local enclosure + PAPR.
After Replacement: Log It
Replacement isn't "done once it's in." Build a record:
- ▸Date / location / serial — what got swapped where when
- ▸Scan test report — before/after comparison
- ▸Initial pressure drop — the reference point for this filter's service life
- ▸Operator — who did the work
No log = no root cause when something goes wrong. Each filter needs its own history.
HEPA replacement is a craft. Taking the time to do it completely beats "swap and go" every single time — because the cost of doing it wrong is the whole batch redone, or worse, yield impact.